Installing Informatica client tools
Step 2: Select select "Install or upgrade to Informatica" and click "start" button.
Step 3: Pre-requisites window will be displayed. Just click "Next" to continue.
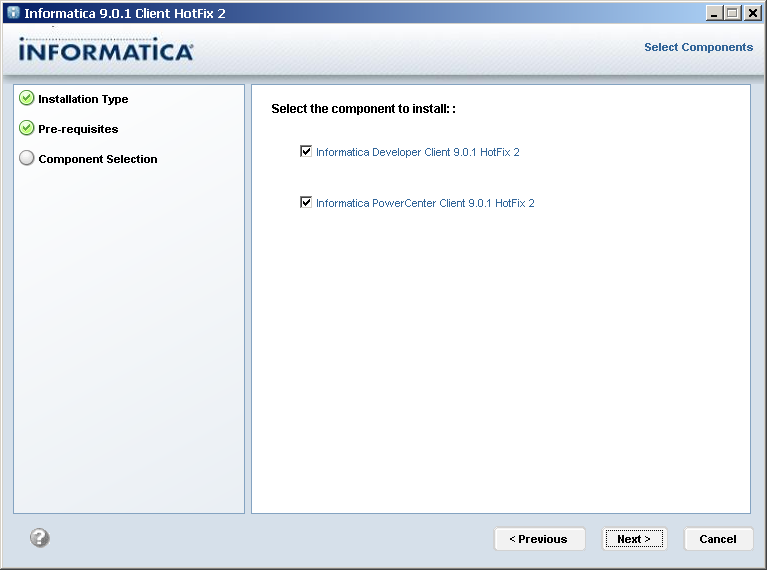
Step 4: Let the default option be there as is. Click "Next" button.
Step 5: Select the installation directory and click "Next".
Step 6: Installation summary will be displayed. Click "Next" to continue.
Step 7: Let the installation continue.
Step 8: Upon successful installation, success summary page will be displayed. Click "Done" button.
With this Informatica Client installation is completed. In the next post we will see how to configure Informatica clients for the first time.
CHEERS :)


Useful information.. thank you
ReplyDelete