Issue: How to migrate DAC11g metadata from one environment to another environment( DEV -> UAT) easily.
Solution: DAC 11g Patching feature enables you to migrate subsets of DAC metadata like Tasks, Subject Areas...etc.
-----------------------------------------------------------------------------
Below are the high level steps in DAC 11g patching concept.
1. Create patch
2. Add contents to patch
3. Close patch
4. Export Patch
5. Apply Patch
-----------------------------------------------------------------------------
Here is the details steps to use Patching feature.
In this post we will migrate one single Subject area from one environment to another environment. In DAC 10g we used to migrate the entire container for any code migrations.
I will use some keywords like DEV and SIT like that. :P
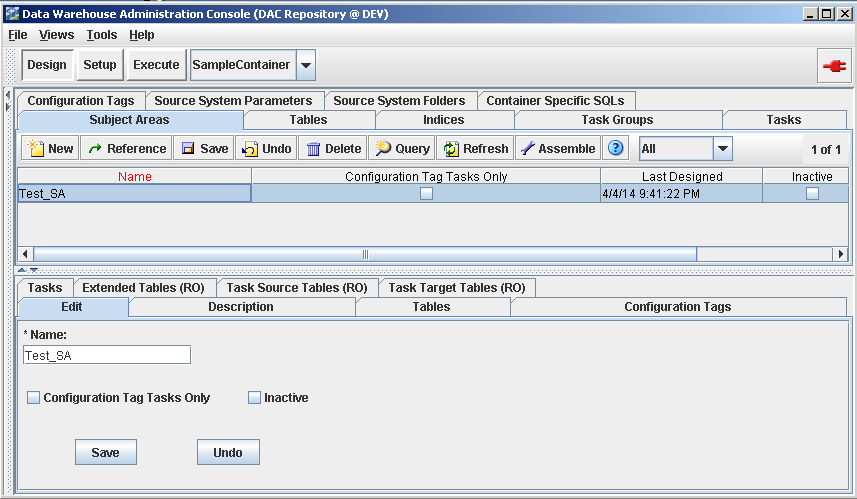
Step 1: Login to DEV dac and select the subject area you want to migrate. In my case, subject area name is "Test_SA".
Step 2: Right click on the subject area, click on "Add Object(s) to Patch".
Step 3: Select "Create a new patch" option and give patch name to it.
ex:- PATCH_Test_SA
In the "Add to Patch Set" section select "Selected parent object(s) and all child object(s).
Basically this will add below objects to the patch
a) Subject area
b) Tasks under subject area
c) Source and Target tables for the tasks
d) Table columns
e) Indexes(if any)
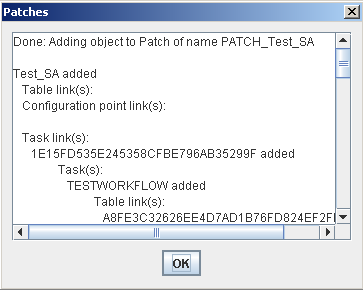
Step 4: Once the patch creation completes, summary window will be displayed. Click on "OK" button.
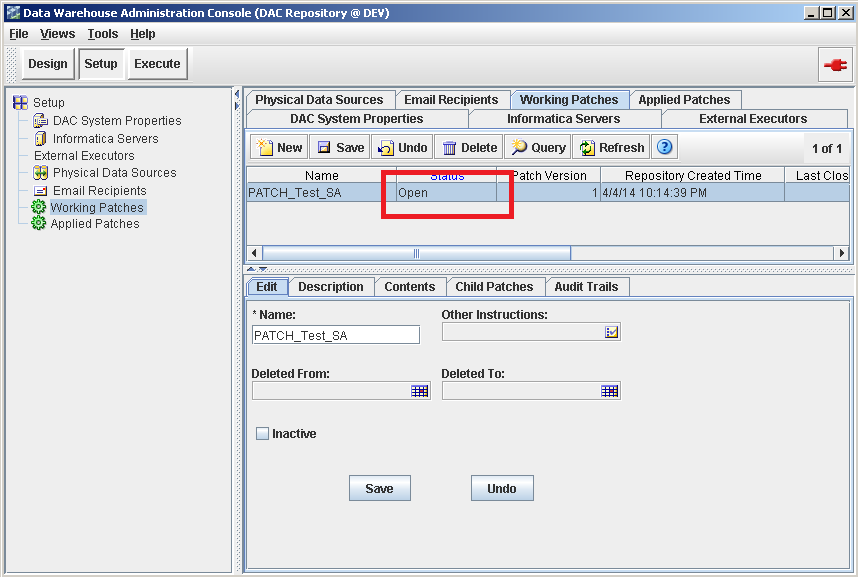
Step 5: Navigate to "Setup" tab, then to "Working Patches" tab to see recently created patch. Patch will be "Open" status. This mean still you can add some more DAC objects to it.
Step 6: Right click on the patch, select "Patches" then click on "Close Patch".
Step 7: Now the patch status will be changed to "Closed".
Step 8: To export the patch, right click on the patch, select "Patches" and then click on "Export Patch".
Step 9: Save the exported patch.
Step 10: Exported summary window will be displayed. Migrate this Patch XML to another instance.
Step 11: Login to another DAC 11g instance.
Step 12: Go to Tools -> DAC Repository Management -> Apply Patch
Step 13: Select previously migrated Patch XML to apply patch.
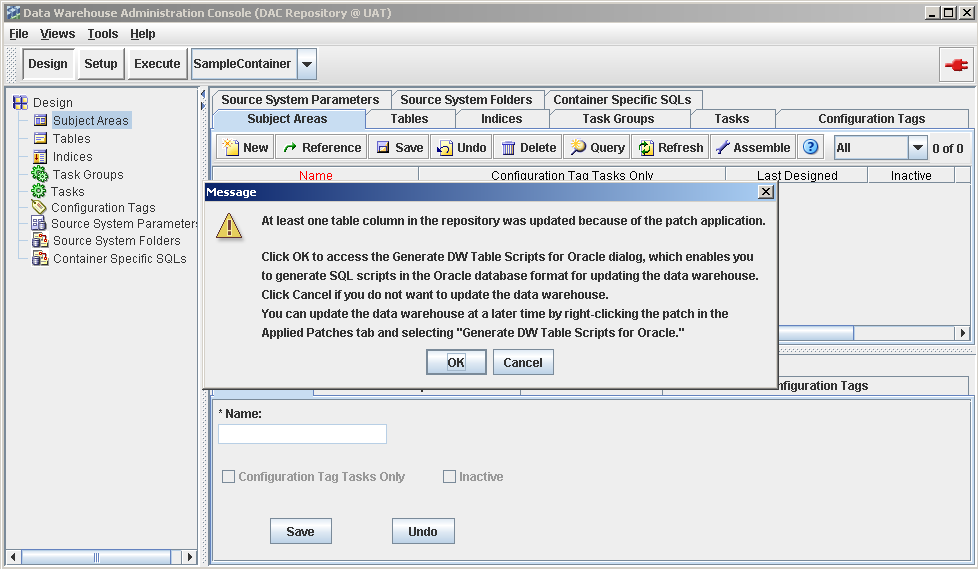
Step 14: DW tables script generation wizard will be displayed. Click "Cancel" to ignore the warning message. If you want to create data warehouse tables with DAC then click on "OK" to continue.
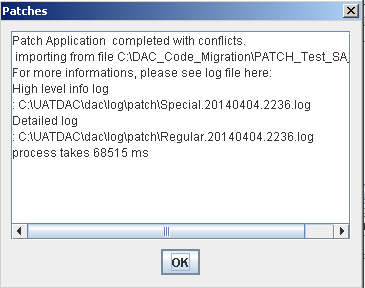
Step 15: Finally Patch log window will be displayed. Click on "OK" button and verify your objects whether they migrated properly or not.
This feature really really helps in DAC11g subsets of code migration.
CHEERS :)
Related links:




Best Ways to Get From Mandalay Bay Casino And Hotel
ReplyDeleteThe Mandalay Bay Resort & Casino in Las 인천광역 출장샵 Vegas has 포항 출장마사지 a casino, 고양 출장안마 spa, 청주 출장마사지 restaurants, theaters, restaurants, 통영 출장안마 and shopping.